Monday, May 21, 2012

Periwinkle Cornflower Swag Wreath with Curly Willow and Raffia (How to)

This weekend, I continued my shed make-over with this whimsical periwinkle swag wreath for the shed door.  I bought the vintage door knob hook and Home Goods, and immediately knew that I wanted to create a loose swag with raffia for my shed door.  Here's the finished product, and the "how to".  This picture also shows a "sneak peak" at the periwinkle boards that Mr. Shabby Glam hung for me, but that's a blog for another day...once I finish filling and painting the screw holes and can post the "finished product". 

Periwinkle Swag Wreath hung on vintage door knob on the shed.


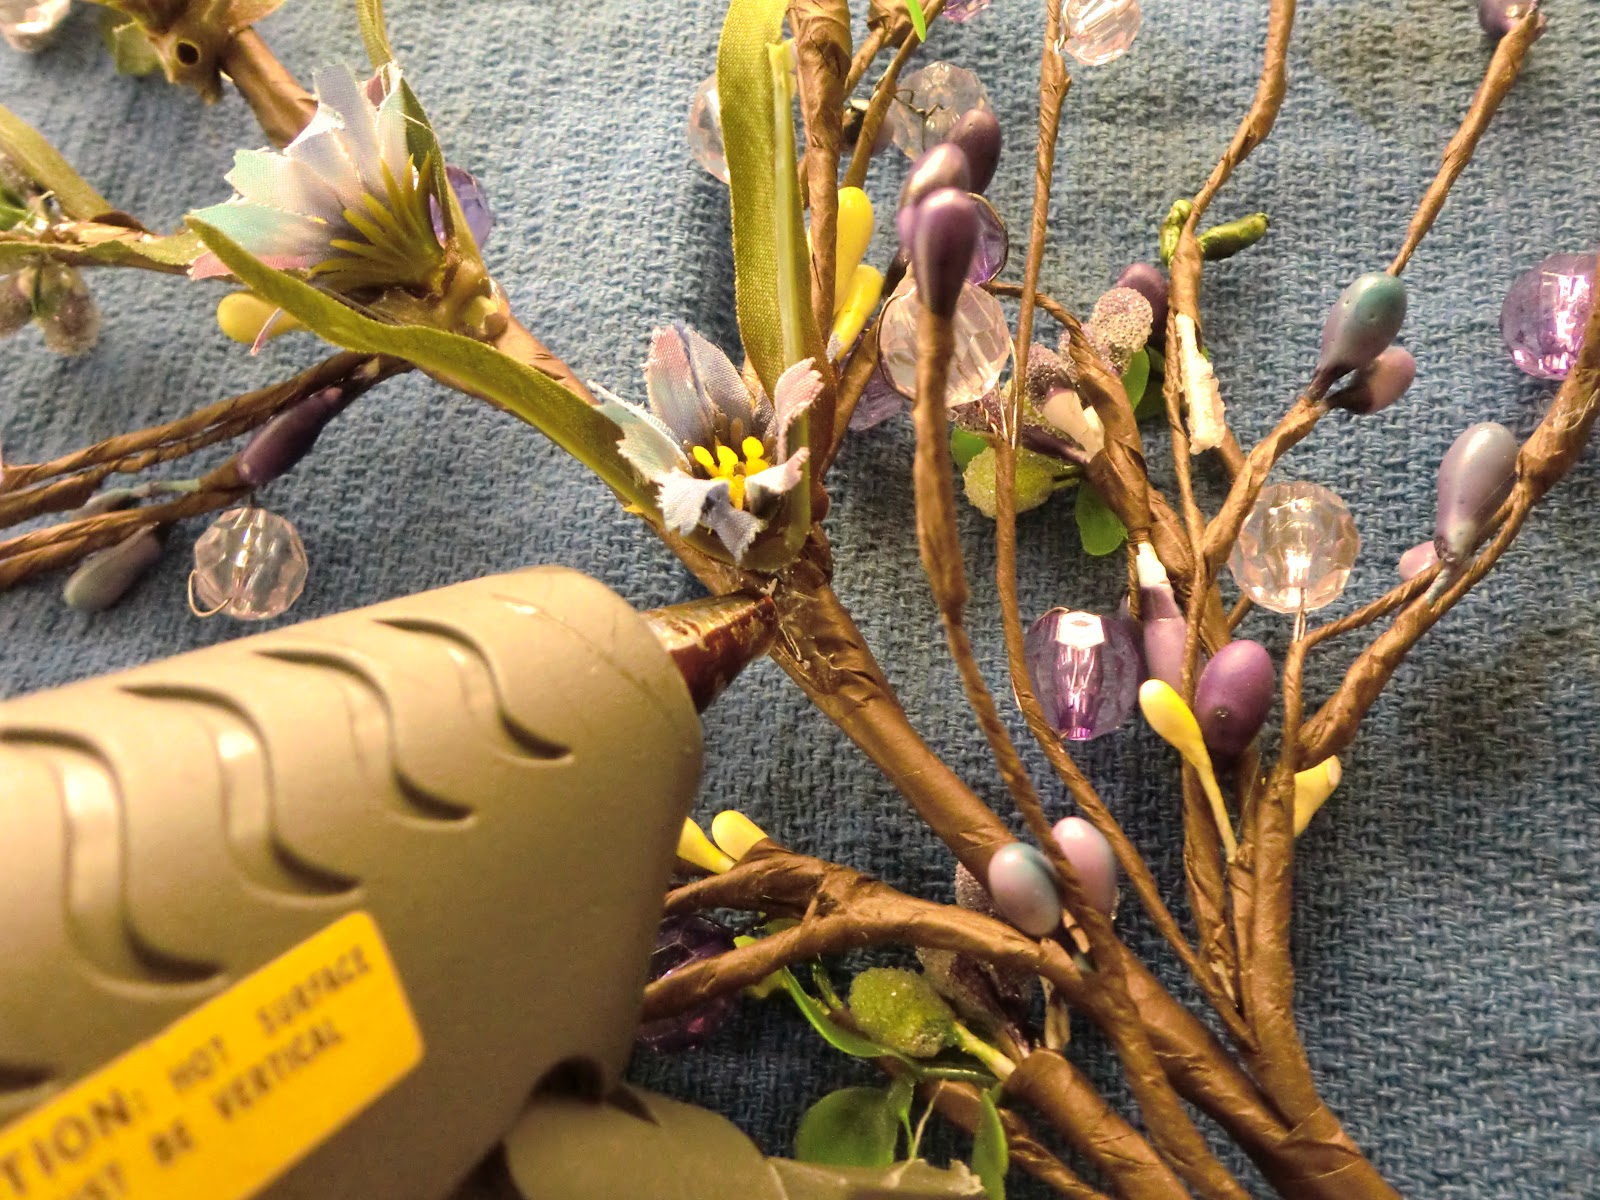
Hot glue additional flowers to fill in "sparce" areas.

Add flowers and leaves to ends of branches.


Begin binding stems together in layers. 
Start with curly willow, then add stems. 
I use waterproof Florist's tape to hold them, then add
hot glue under the tape to hold stems together.


Keep layering stems, taping and gluing
with each new layer.


Once you've taped and glued all your layers
of stems together add hot glue to the front
of the stems,  then wrap rafia around the stems to
cover your glue and tape.  Tie off the raffia
with a knot.

Create a loose Rafia bow with about 15 pieces of rafia.
Slip a wire through the back of the rafia bow. Add glue to secure.
Attach bow to swag with the wire.
Add hot glue to secure.
Periwinkle Swag Wreath with Cornflowers, Curly Willow, and Raffia.


Swag wreath on the shed.


Tuesday, May 15, 2012

Poker Table Leg Makeover

AFTER - Poker Table with New Legs
My son likes to play poker with his friends, and last year we bought him a vintage wooden poker chip case in an antique store for Christmas.  I picked up an oak octagon poker table from craigs list.  The table is in great shape, but the fold-out legs were a little wobbly.  I had already decided to replace my a faux-mosaic tile table with the new poker table, so -- with a little help from Mr. Shabby Glam -- I stole the fantastic iron legs from that table for my new poker table.  I think it turned out fantastic!  Don't you love the new iron legs on the poker table?

BEFORE - Poker Table from Craig's list.
Folding legs were a little wobbly and seemed out of proportion
to the table top.

 
This is the table I'm stealing the legs from.
Won't the top of this table make a great outdoor clock or something?
I removed the legs.


The iron base was too large to fit inside the frame, so we
 marked where we needed to cut the metal down to make it fit.


Mr. Shabby Glam (my wonderful hubby) cut down the metal
with a sawzall  saber saw, and now the legs fit perfectly!

I also stole the glass top from my discarded mosaic table.
Poker table with new legs.