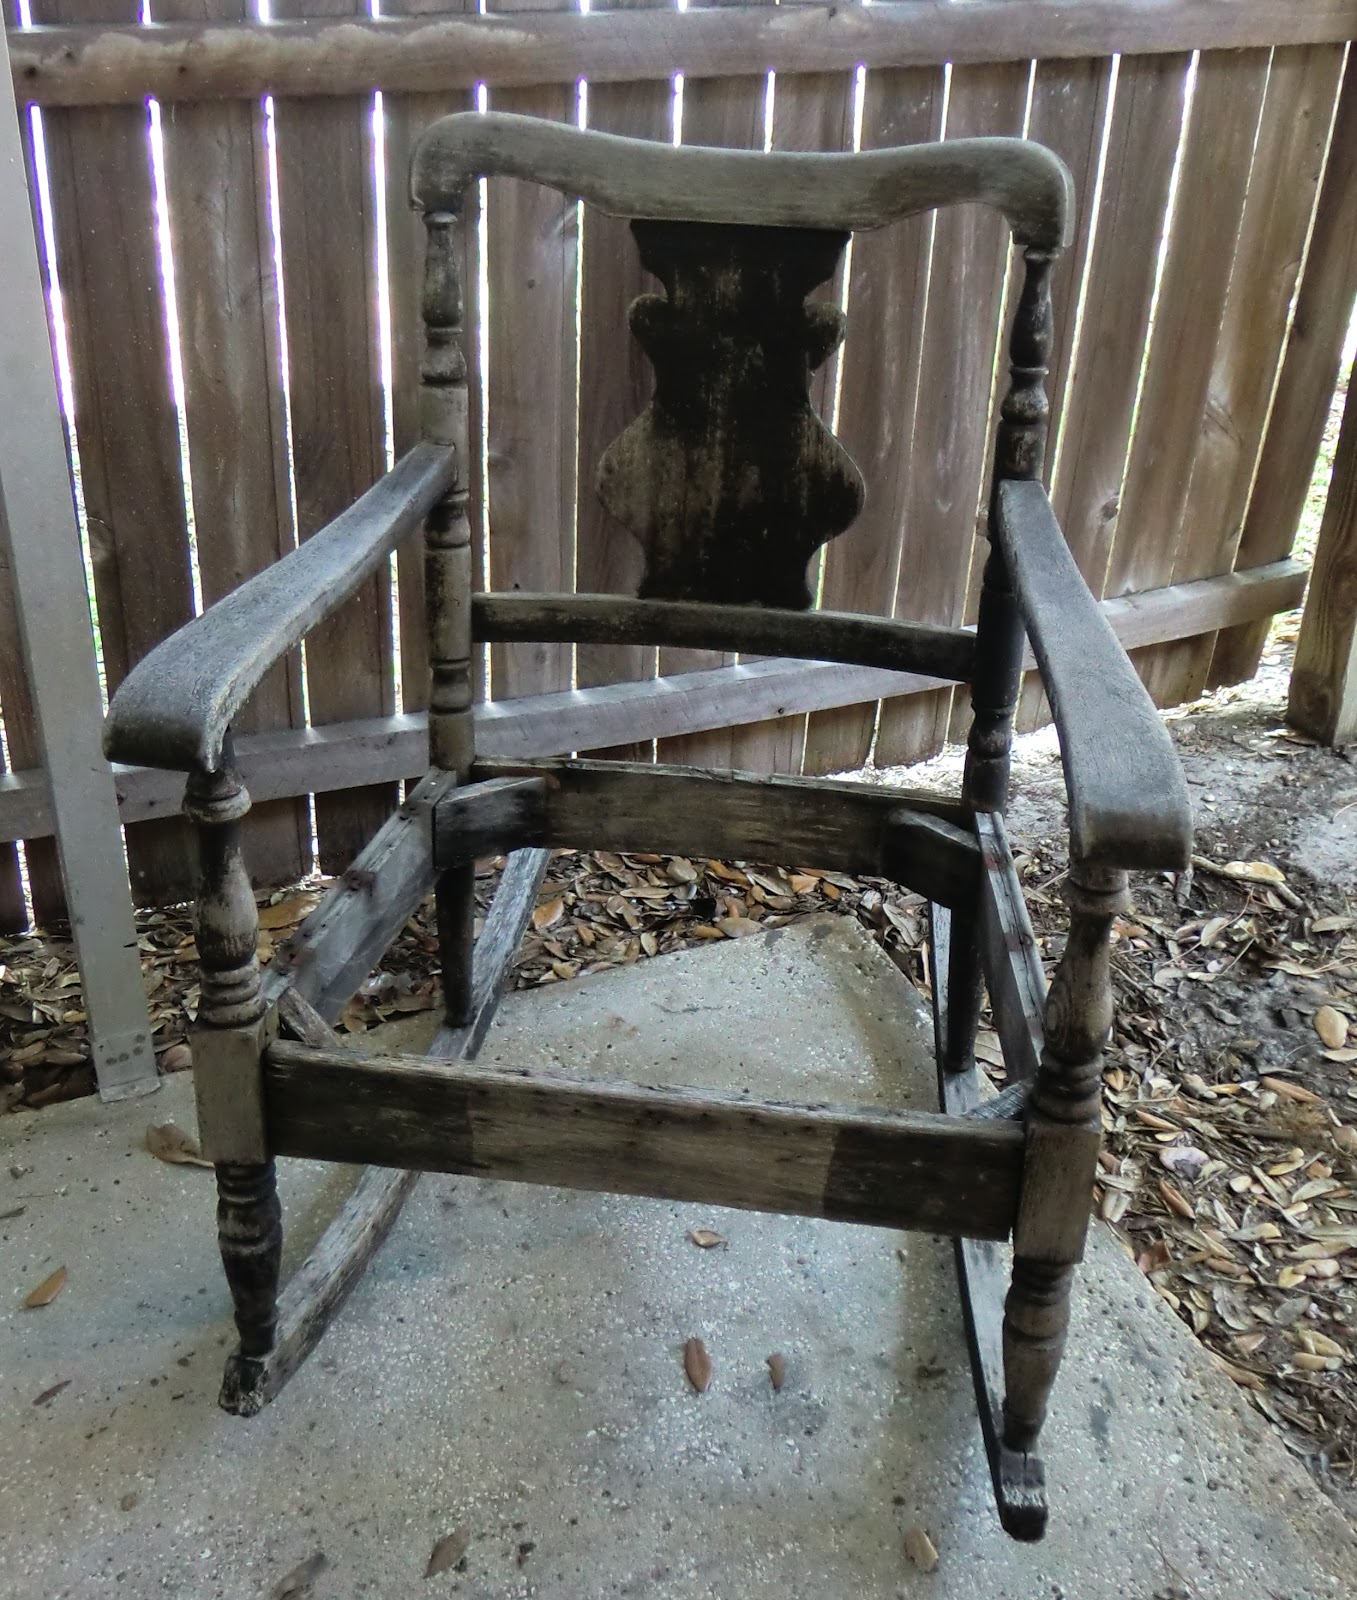
Monday, April 28, 2014

Raised Garden Beds made from back half of Armoire


Remember the armoire that I used to cover those unsightly wires on the side of our house?

You may recall that we cut an armoire in half lengthwise to make a narrow cabinet t hide our fuse panel, hose and wires.  As soon as I saw the back half of the armoire that was left from our previous project, I thought it would make two fantastic raised garden beds. 


We cut the back of the armoire in half again because we needed two narrow beds to place along the fence line in our side yard.


We framed out the open back with scrap wood to create a box.  Next, I stained the armoire and the scrap wood all the same color with some left-over stain.

Because we wanted to grow pole beans, I needed a trellis.  I found these door pane inserts on Craigs' list for $5.  We mounted scrap wood to the back of the planter boxes and mounted the door pane inserts onto the poles with screws and zip ties.

Next, we added layers of garden soil and cow manure, and planted pole beans, Japanese eggplant, tomatoes, bell peppers and mild banana peppers. 


Here are a few veggies growing in the new garden!

Sunday, April 20, 2014

Armoire Covers Unsightly Wires

After our backyard shed makeover was complete, I needed to cover up this unsightly rats nest of wires and cables, the cable box, the water faucet and garden hose (what a mess!).

We found an armoire at a yard sale for $20.  I immediately knew that with a bit of modification, it could be the solution to cover my unsightly wires.  Hubby helped me cut the armoire in half lengthwise to make the cabinet more narrow, then we mounted it onto the outside wall to cover the wires.  Because the cabinet was not quite tall enough to cover the top of the equipment, we raised the foundation under the cabinet with garden stepping stones.  This will also help keep the bottom of the cabinet dry when it rains.

It now is a charming addition to our backyard, and we no longer have to look at those ugly wires!

Of course...we couldn't let the back of the cabinet go to waste, so we made a Raised Garden Bed with the recycled cabinet back.

Stay tuned for the next posting of the raised garden bed!


Monday, September 10, 2012

New England Shed Makover - Repairing Wood Rot & a New Roof

Nancy's Shed "Before"
My mother-in-law's shed was in disrepair, so she got a quote to refurbish it...for $3,000!  Granted, the shed had wood rot along the bottom where years of snow drifts had saturated the wood and it needed a new roof.  Enter Mr. and Mrs. ShabbyGlam!  We flew to Boston for Labor Day Weekend to give her shed a ShabbyGlam makeover!  Here's what it looked like when we arrived.

Our challenges:

  • Wood-rot around the bottom 
  • Wood rot in the fascia boards at the roof
  • Leaky Roof
  • Faded paint
REPAIRING WOOD ROT AROUND THE BOTTOM

Wood rot all along the bottom.

Shed "Before" front view
Mr. ShabbyGlam installs new boards
covering existing wood rot.
New boards cover old rot.
First, we gave it a good washing down to get any chipping paint and dirt off the shed. We cut pressure treated boards to fit around the bottom to cover the wood rot.  


We cut off the rotten wood from
from the bottom of the door.
Board replaces rotten wood on the door.

Next we removed the door to address the wood rot at the bottom and added a board to the bottom of it too.  We cut off the bad wood and replaced it with a board to match the boards installed on the shed.  We filled in any missing wood and cracks with wood putty.

We trimmed out the wood at the base of the door
to match the baseboards around the shed.
FIX FASCIA BOARDS ALONG THE ROOF
The fascia boards around the roof were in terrible shape and required replacing.  Mr. ShabbyGlam replaced all those boards with pressure treated wood.  Here's the before/after:
Rotten Fascia Boards and Leaky, Moss-covered Roof
Replaced Fascia Boards
REPAIRING THE ROOF
Shingles being laid on the roof
Nancy painstakingly scraped off the moss that was growing over the roof.  After inspecting the roof and finding that the wood was solid and did not need replacing, Mr. ShabbyGlam shingled over the old roof.  Jon also added a drip edge (the white strip in the picture) to protect the new boards from rot.

PAINTING! 

New England Shed Renovation Complete!
Door knocker we found
antiquing in Essex, MA.
Now that we had addressed all of the repairs, we prepped and painted.  We filled all the holes and cracks with wood putty, then painted the shed door Behr Chianti Red, the Fascia and Trim Behr Linen White, and the walls Benjamin Moore Dartsmouth Green.

We took a break on Sunday from our labors and went antiquing in Essex, MA.  We found the perfect crowning jewel for our new shed door - an iron garden trowel door knocker!


Renovated Shed and Seating Area


Shed "After" through the gate.


Tuesday, August 21, 2012

Rocking Chair Planter - Curbside Find!


Before:
Curbside Rocking Chair
After: Rocking Chair Planter
While walking the dogs a few weeks ago, Hubs found this dilapidated old rocking chair in the alley ready for trash pick-up.  I must admit, I was a little skeptical about the potential.  Seriously...this thing looked like the front rockers had been chewed on, it was ridiculously wobbly.  So as not to hurt his feelings, and in appreciation for his support of my ShabbyGlam projects I did not immediately throw it in the dumpster...instead I put it out of sight in our side yard.

But it called to me.  Every time I walked by on the way to get a tool or ShabbyGlam supplies, it spoke to me.  I did love the shape of the chair and finally I decided that I just had to make something special from it.  Here's how I turned this dumpster-destined rocker into a ShabbyGlam garden planter.
Rustoleum Ultra Cover
Summer Squash

Spray Painted
SPRAY PAINTING: I spray painted the chair with a soft Summer Squash satin paint (Painter's Touch Ultra Cover by Rustoleum) that Hubs picked out for me.

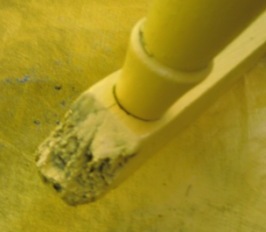
SANDING: Next, I sanded down the fronts of the rocker legs that looked like they had been chewed on.


Chewed up rocker legs
took some sanding.

Sanded the chewed up
rocker legs until smooth.


Formerly jagged rocker
legs after sanding.
WHITEWASHING: Next, I white-washed over the yellow color to give it a two-toned distressed look.  Here's how to whitewash: If you haven't tried whitewashing yet, it's super easy!  Just add water to white paint (or any color for a color wash) until the paint is about the consistency of milk.  Brush on with a paint brush and wipe off with a rag until you get the desired look.

I should let you know that this isn't a perfect science.  When I was done whitewashing, I decided it was too white and color-washed with a squash color over the top.  This turned out beautiful!

STENCILING:  I decided the back needed a little more character, so I decided to pull out an old stencil that I used a few years ago on a wall in my entryway.

Whitewashed Rocking Chair
- How to Whitewash Furniture.

Prepping for stencil.

Rocking chair after stenciling.


DISTRESSING:  Now I moved on to distressing the chair to make it look as old as it actually is.  This is the easy part - just sand it down until it looks old!  I also sanded over the stenciled section to make sure it looked like it had been there for years.

Sanding the edges for a worn look.

Distressing the rocker by sanding the edges.
After adding added some wood glue at the seams and a few screws to make the chair more stable and less wobbly, I added two coats of Rustoleum's Ultra Cover Clear Gloss to seal and protect the finish.  This is especially important because this will be outside in the sun and weather. This stuff also acts as a sunscreen for furniture because it includes UV protection!
Applied 2 coats of
Rustoleum Ultra Cover Clear Gloss.


PLANTING:  Hubs picked up the perfect sized planter, and I painted it to make it blend with the chair. I planted some spreading flowering plants so that eventually they'll grow over the sides of the rocker and cascade toward the ground.

FINISHING:  Finally, I dropped the planter inside the rocker, and placed it near my shed as a focal point in the back yard.

Finished Rocking Chair Planter in my backyard.  Next project is a back yard firepit among the rocks!

Can't you just picture the fire pit I'm going to create among the rocks! There will be smores this winter...You betcha!  Please comment below and let me know what you think!

Sunday, August 12, 2012

CD Rack Trellis

Spray paint
A few months ago, I found a CD Rack at a yard sale.  It was marked $4.00, but I was able to talk my way to $2.00 for this gem.  As soon as I saw the rack, I knew it would someday be either a topiary or a trellis for a blooming vine of some sort.  That day is today, and here is my up-cycled CD Rack-turned-trellis.
Green Apple spray paint
by Rustoleum
$2.00 CD Rack
from a yard sale.
SPRAY PAINT: I painted it satin green apple (Rustoleum Ultra Cover Spray Paint).

Whimsical dots added with the handle end
of the craft paint brush.
CRAFT PAINT: I painted every other rung on the front with outdoor craft paint.  Next, I added dots to create a whimsical look. These dots are really easy to create.  Just dip the handle end of a craft brush in the paint, then dot it onto the item.  It creates great little dots every time.  To make bigger dots, use a bigger brush.

MOUNTING and PLANTING:  I mounted my new trellis on the fence next to my shed and planted a pink blooming Allamanda vine underneath it.

Mounted CD Rack Trellis on the fence
above a pink blooming Allamanda vine.

Mounted CD Rack Trellis next to the shed.
Won't it be beautiful as the vines grow through it?